Что здесь важно
Фото Budva Standard и Riviera показывают, насколько вариант полета ощущается широким или городским.
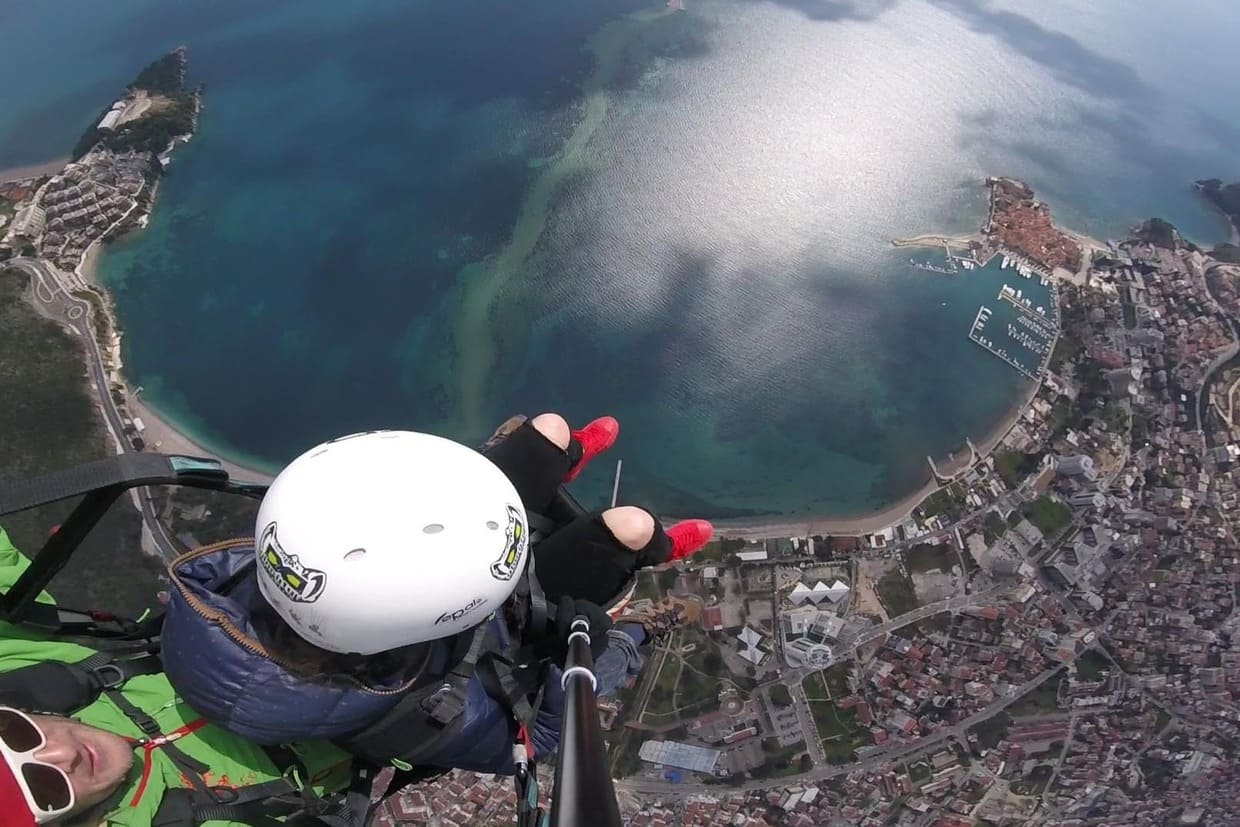
Фото Старого города и Свети-Стефана привязывают выбор к узнаваемым ориентирам.
Фото взлета и посадки объясняют практический контекст без обещания фиксированного варианта на каждую дату.
Если важнее движение, а не неподвижные виды, переходите к видео полетов.